

How to Train to Climb a 14er (or 13er)
Everything You Need to Know About Training to Hike Your First 14er (or 13er)
Living in Colorado, if I happen to mention that I recently climbed a particular peak over 14,000 feet, I’ll probably get a response of anything from “I love that peak! Which route did you do?” to “Oh, that peak? I climbed that one before breakfast yesterday.”
It’s easy to get the impression that 14ers are “just another hike” when most everyone and their grandmother in Colorado has climbed at least one of them. But make no mistake: hiking a peak that tops out at almost three full miles above sea level is no cake walk. Even those who have been on top of numerous 14ers likely had a tough time up their first one, and still need to remain well-conditioned to continue summiting these high peaks.
If you’re hoping to summit one of the 58 peaks over 14,000 feet in Colorado (or any of the 637 13,000+ foot mountains), use this guide to help ensure your endurance and strength at altitude are on par with a mountain goat’s.
Warning: hiking a 14er or 13er may result in jaw-dropping views, a strong hunger that only plentiful snacks can satiate, and a lifelong addiction to summiting peaks.
Step 1: Build Endurance
How to train for a long hike? ...go hiking! Even many of the “easiest” 14ers are six or seven miles round-trip. This might not sound like a lot, but when you factor in the elevation gain, altitude, and terrain, a few miles can feel like an all-out marathon.
Thankfully, the best way to train for these miles is to get out on some trails! If you’re relatively new to hiking, start with just a couple miles every few days and slowly build up to longer trails over time. If you’re already doing longer hikes every week, keep up the frequency, and tack on a few more miles than you’re used to now and again.
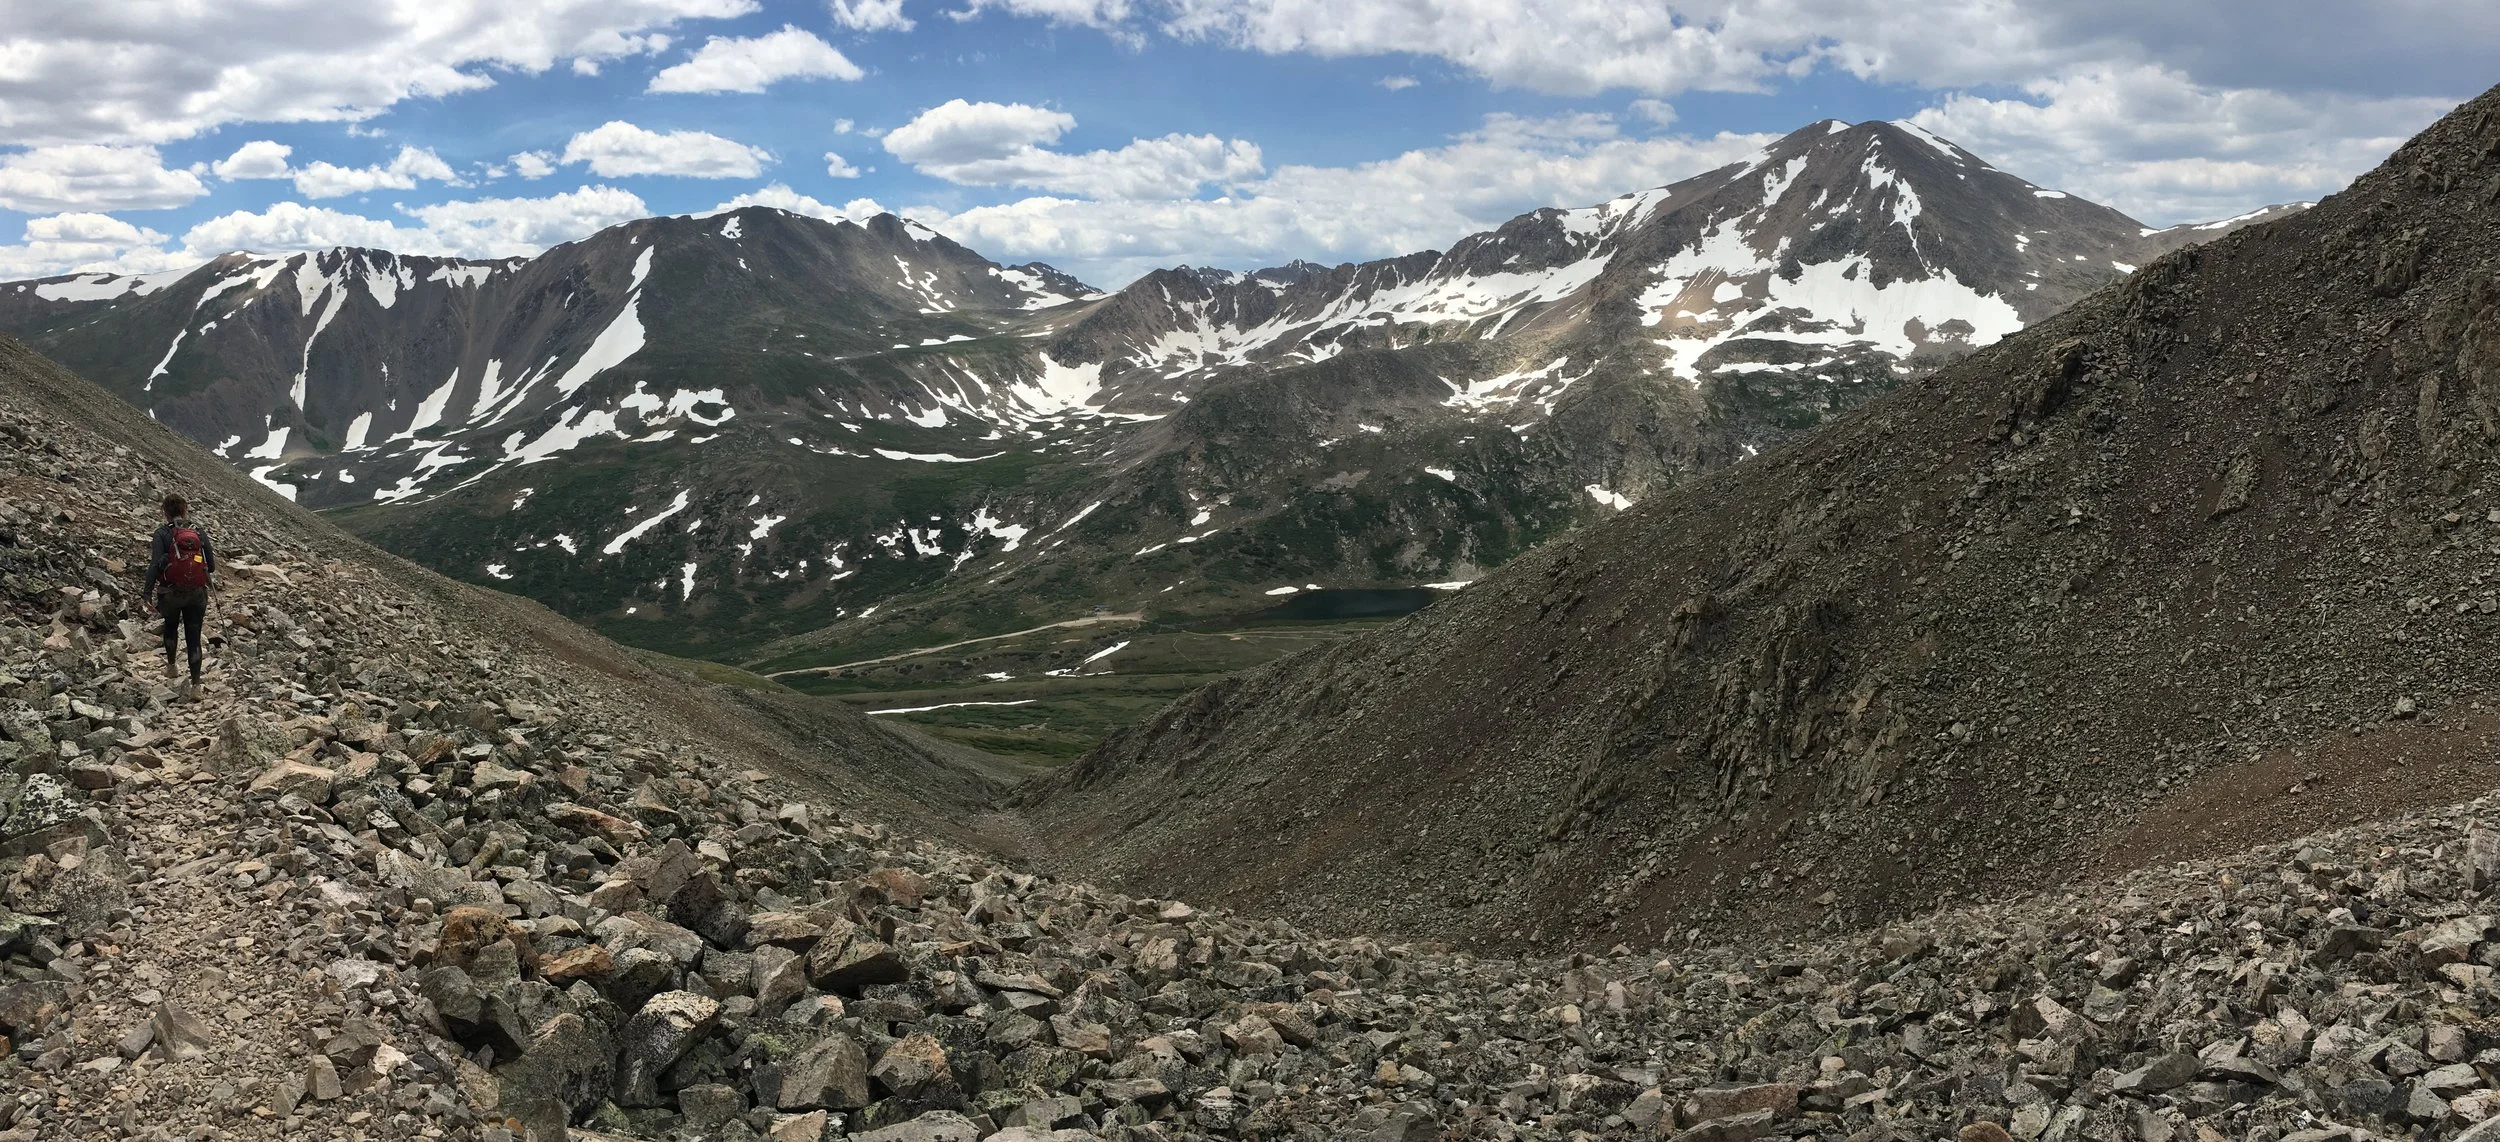
Even if you’re going for longer walks or runs on, say, a treadmill, that’s not going to cut it when you’re on rocky, rooty terrain. Make sure to spend ample time on rougher trails so that the stabilization muscles in your legs can build strength, and you can get a feel for what it will be like to spend hours on rough, uneven terrain. (Spoiler alert: no trail on a 14er is smooth.)
You mean I need to hike more to train for hiking? …sounds like a win-win!
Step 2: Build Strength
Hiking a 14er isn’t all just long miles and thin air - it’s also a LOT of big steps up and down, using your arms to hoist yourself up the trail and keep your balance, and awkward moves you may not normally do. If you rely on your endurance alone, you’ll likely tire out very quickly, or at least wake up the next day very sore.
Fortunately, even a simple 30 minute bodyweight routine 2-3x a week for a several weeks or months leading up to your first 14er can make a monumental difference. A simple Google search will merit tons of ideas for easy home workouts, but basic bodyweight exercises you can do virtually anywhere are as follows:
Squats (static or jumping)
Lunges (static or jumping)
Push-ups
Planks
Burpees
Mountain climbers
Calf raises
Again, a full routine can easily be found online and tailored to your specific needs. Just remember to warm up before any kind of strength training and ease into any new workout routine. Weights and stability boards can be added to increase the difficulty of any exercise!
Remember, you don’t need to look like The Hulk to climb a 14er - just make sure you have a solid base of strength and your hike will be exponentially easier.
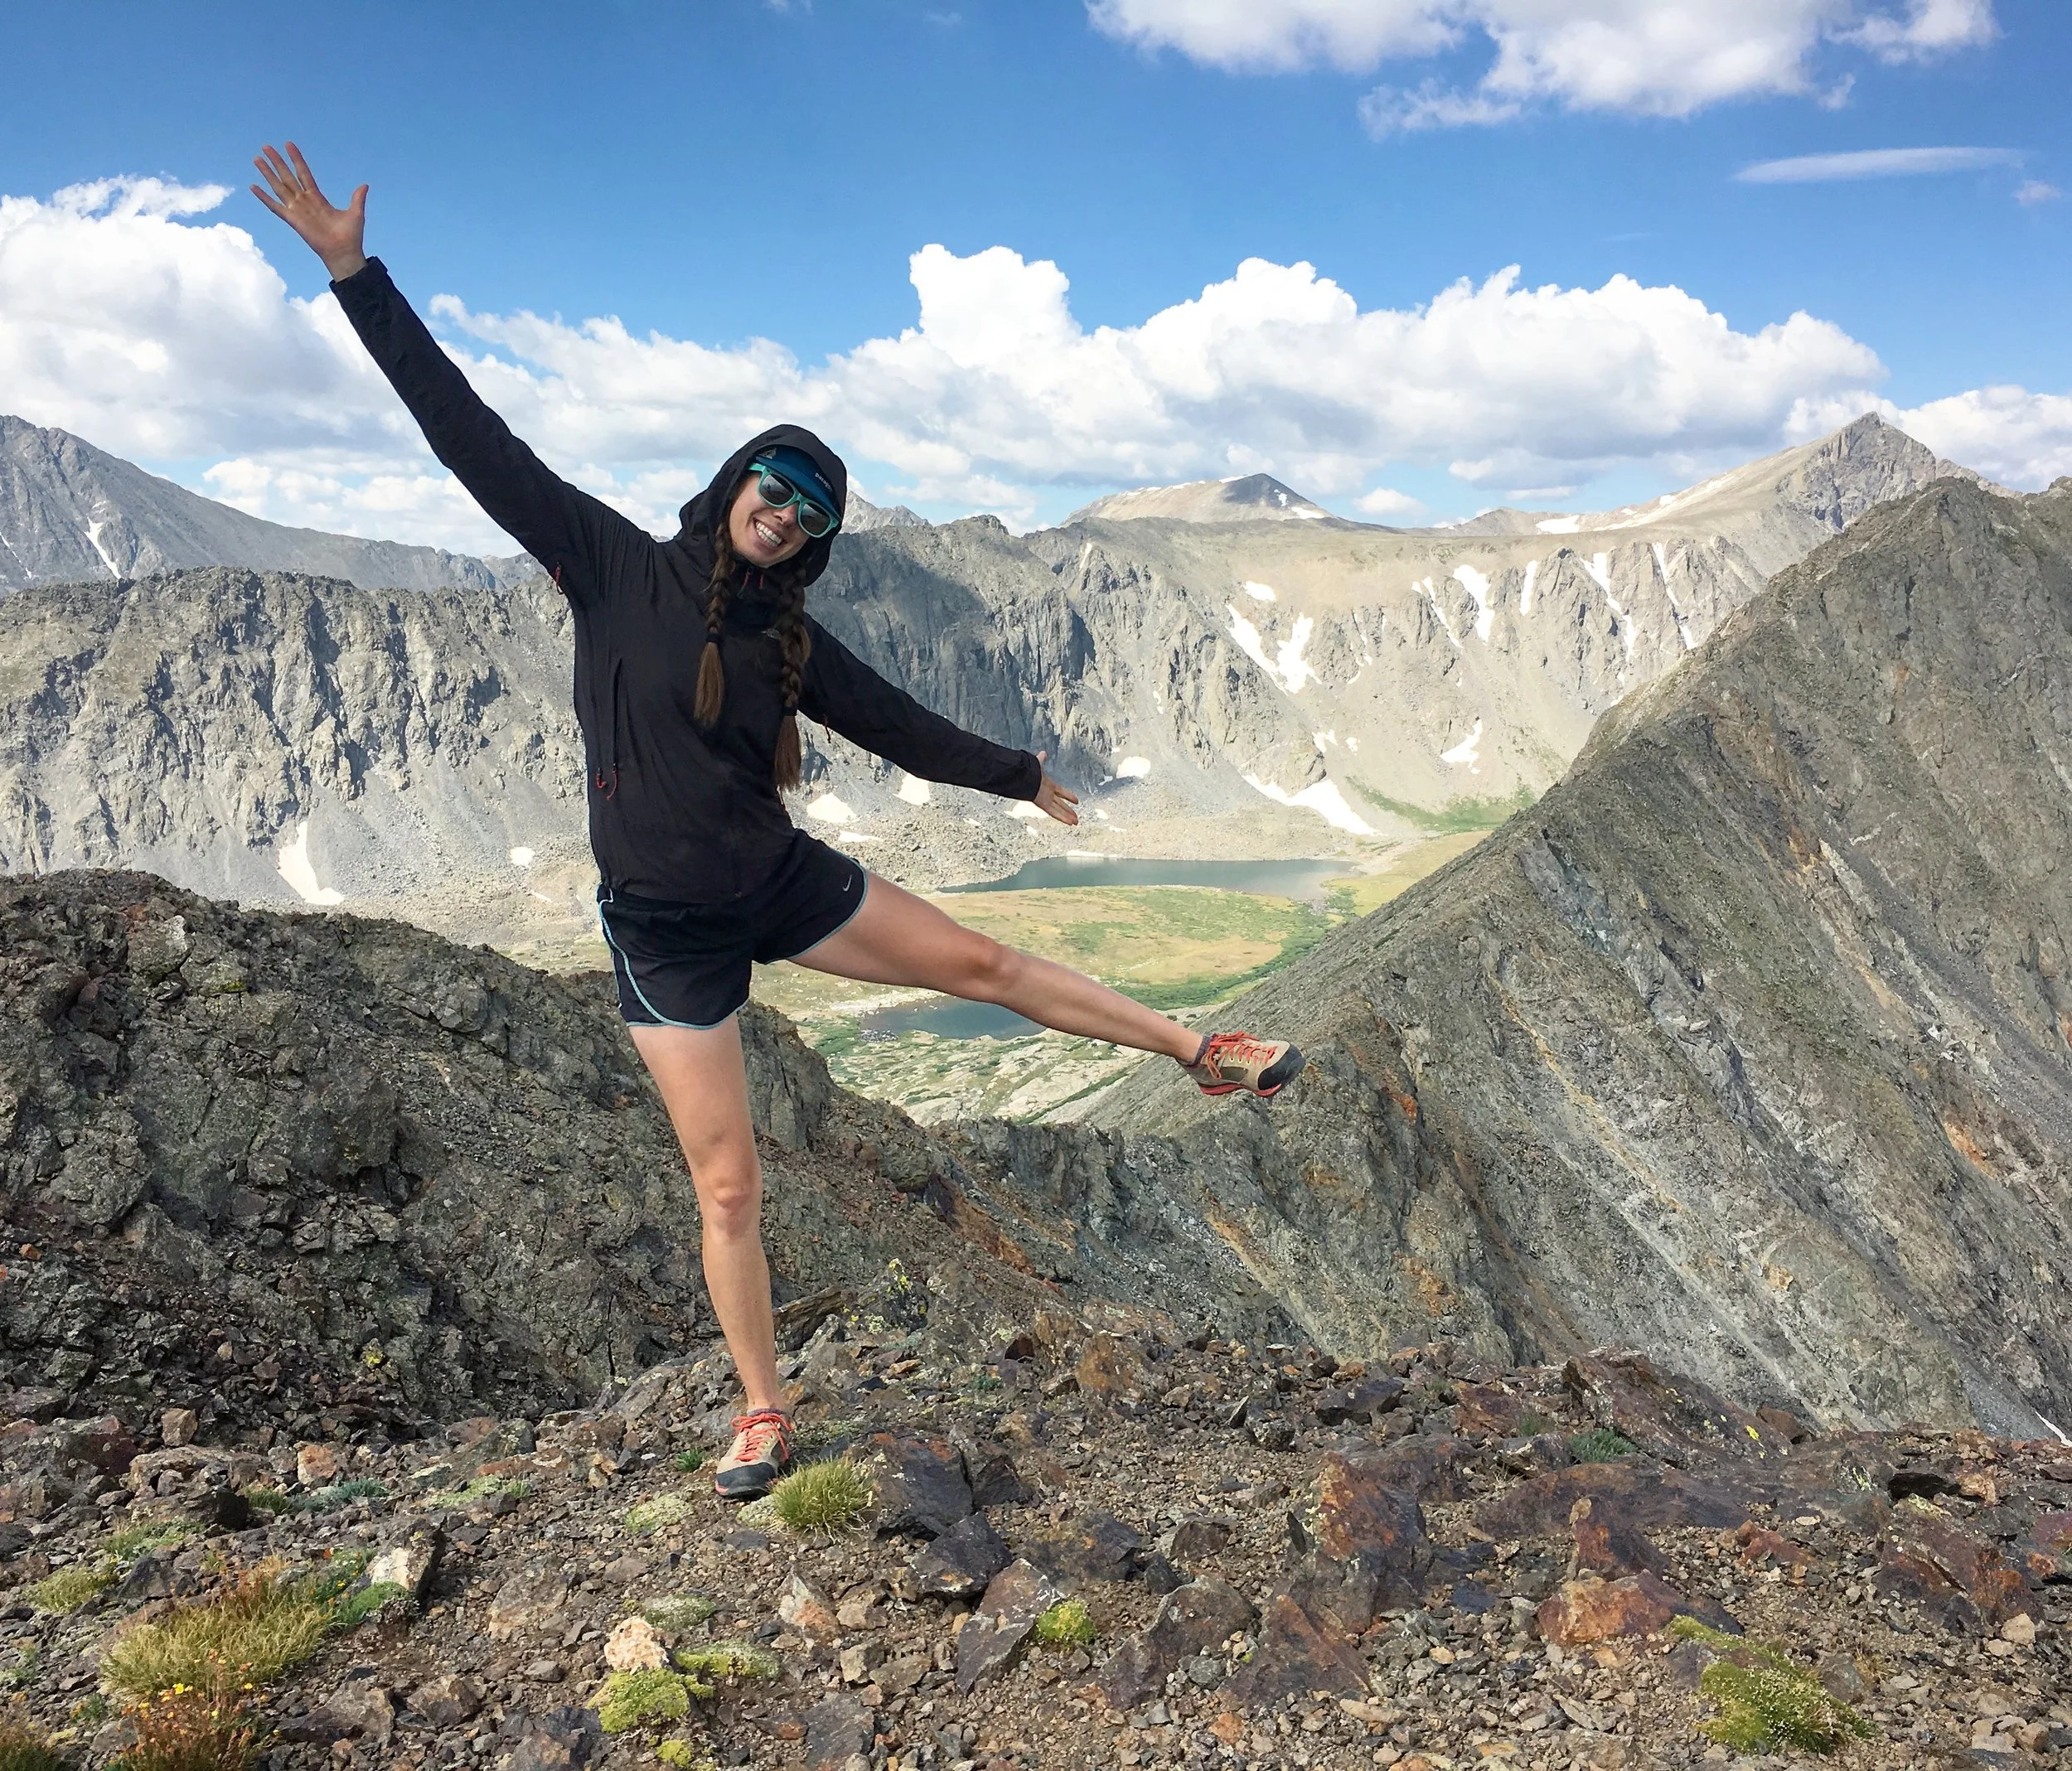
They call this exercise the talus navigator.
Step 3: Increase your Lung Capacity
Even for the most seasoned athletes who regularly run marathons or lift weights, a 14er can be a serious challenge simply due to the significantly smaller amount of available oxygen at that high of an altitude.
Altitude affects everyone differently, and there’s no shame in turning around on a 14er due to altitude-related issues. That said, there are some activities you can do to greatly increase your lung capacity.
The simplest way is to - of course - find the highest altitude training grounds in your area and spend ample time there. Even if you live at 5,000 feet and the best you can do is spend time recreating in the 8,000 foot high hills around you, every little bit helps. Several days before your actual 14er bid, spend a couple of days at high elevation (ideally 10,000 feet or higher) to really help you acclimate.
The second easiest way to to increase your lung capacity - while also building muscle and getting in a great workout - is to find your nearest steep trail and spend ample time going up and down it at a great clip, preferably with a full backpack. It’s simple but tough, and even doing this one or two times a week will greatly help you to feel more at home when heading up your 14er of choice.
Live in a flat state? No problem! Just find your nearest stadium stairs, bleachers, stairmaster, or office stairwell and get creative with repeats!
Besides these hiking-specific workouts, yoga, swimming, and biking are all exceptional ways to prepare your lungs for a 14er. Figure out which of these activities you enjoy doing, and keep at them regularly leading up to your ascent. Who knows, in the process you may just find a new favorite activity!

Views like these really take your breath away!
Step 4: Gain a Mental Edge
So you’re in great shape and feel good at elevation, but does the thought of staring up a 14,000+ foot tall peak give you anxiety? If so, it may be time to work on some visualization techniques.
Many - if not most - great athletes use the power of visualization to accomplish their goals. They picture themselves crossing the finish line first or hitting home run after home run. In your case, spending even just a minute or two a day visualizing yourself successfully navigating the challenging terrain, overcoming fatigue, and reaching the summit can help ensure that that actually happens.
Sounds too easy to be true? Scoff all you want, but visualization has been successfully used as a technique for millenia. Plus, what better excuse to daydream at work than picturing yourself on top of a jaw-droppingly beautiful mountain?

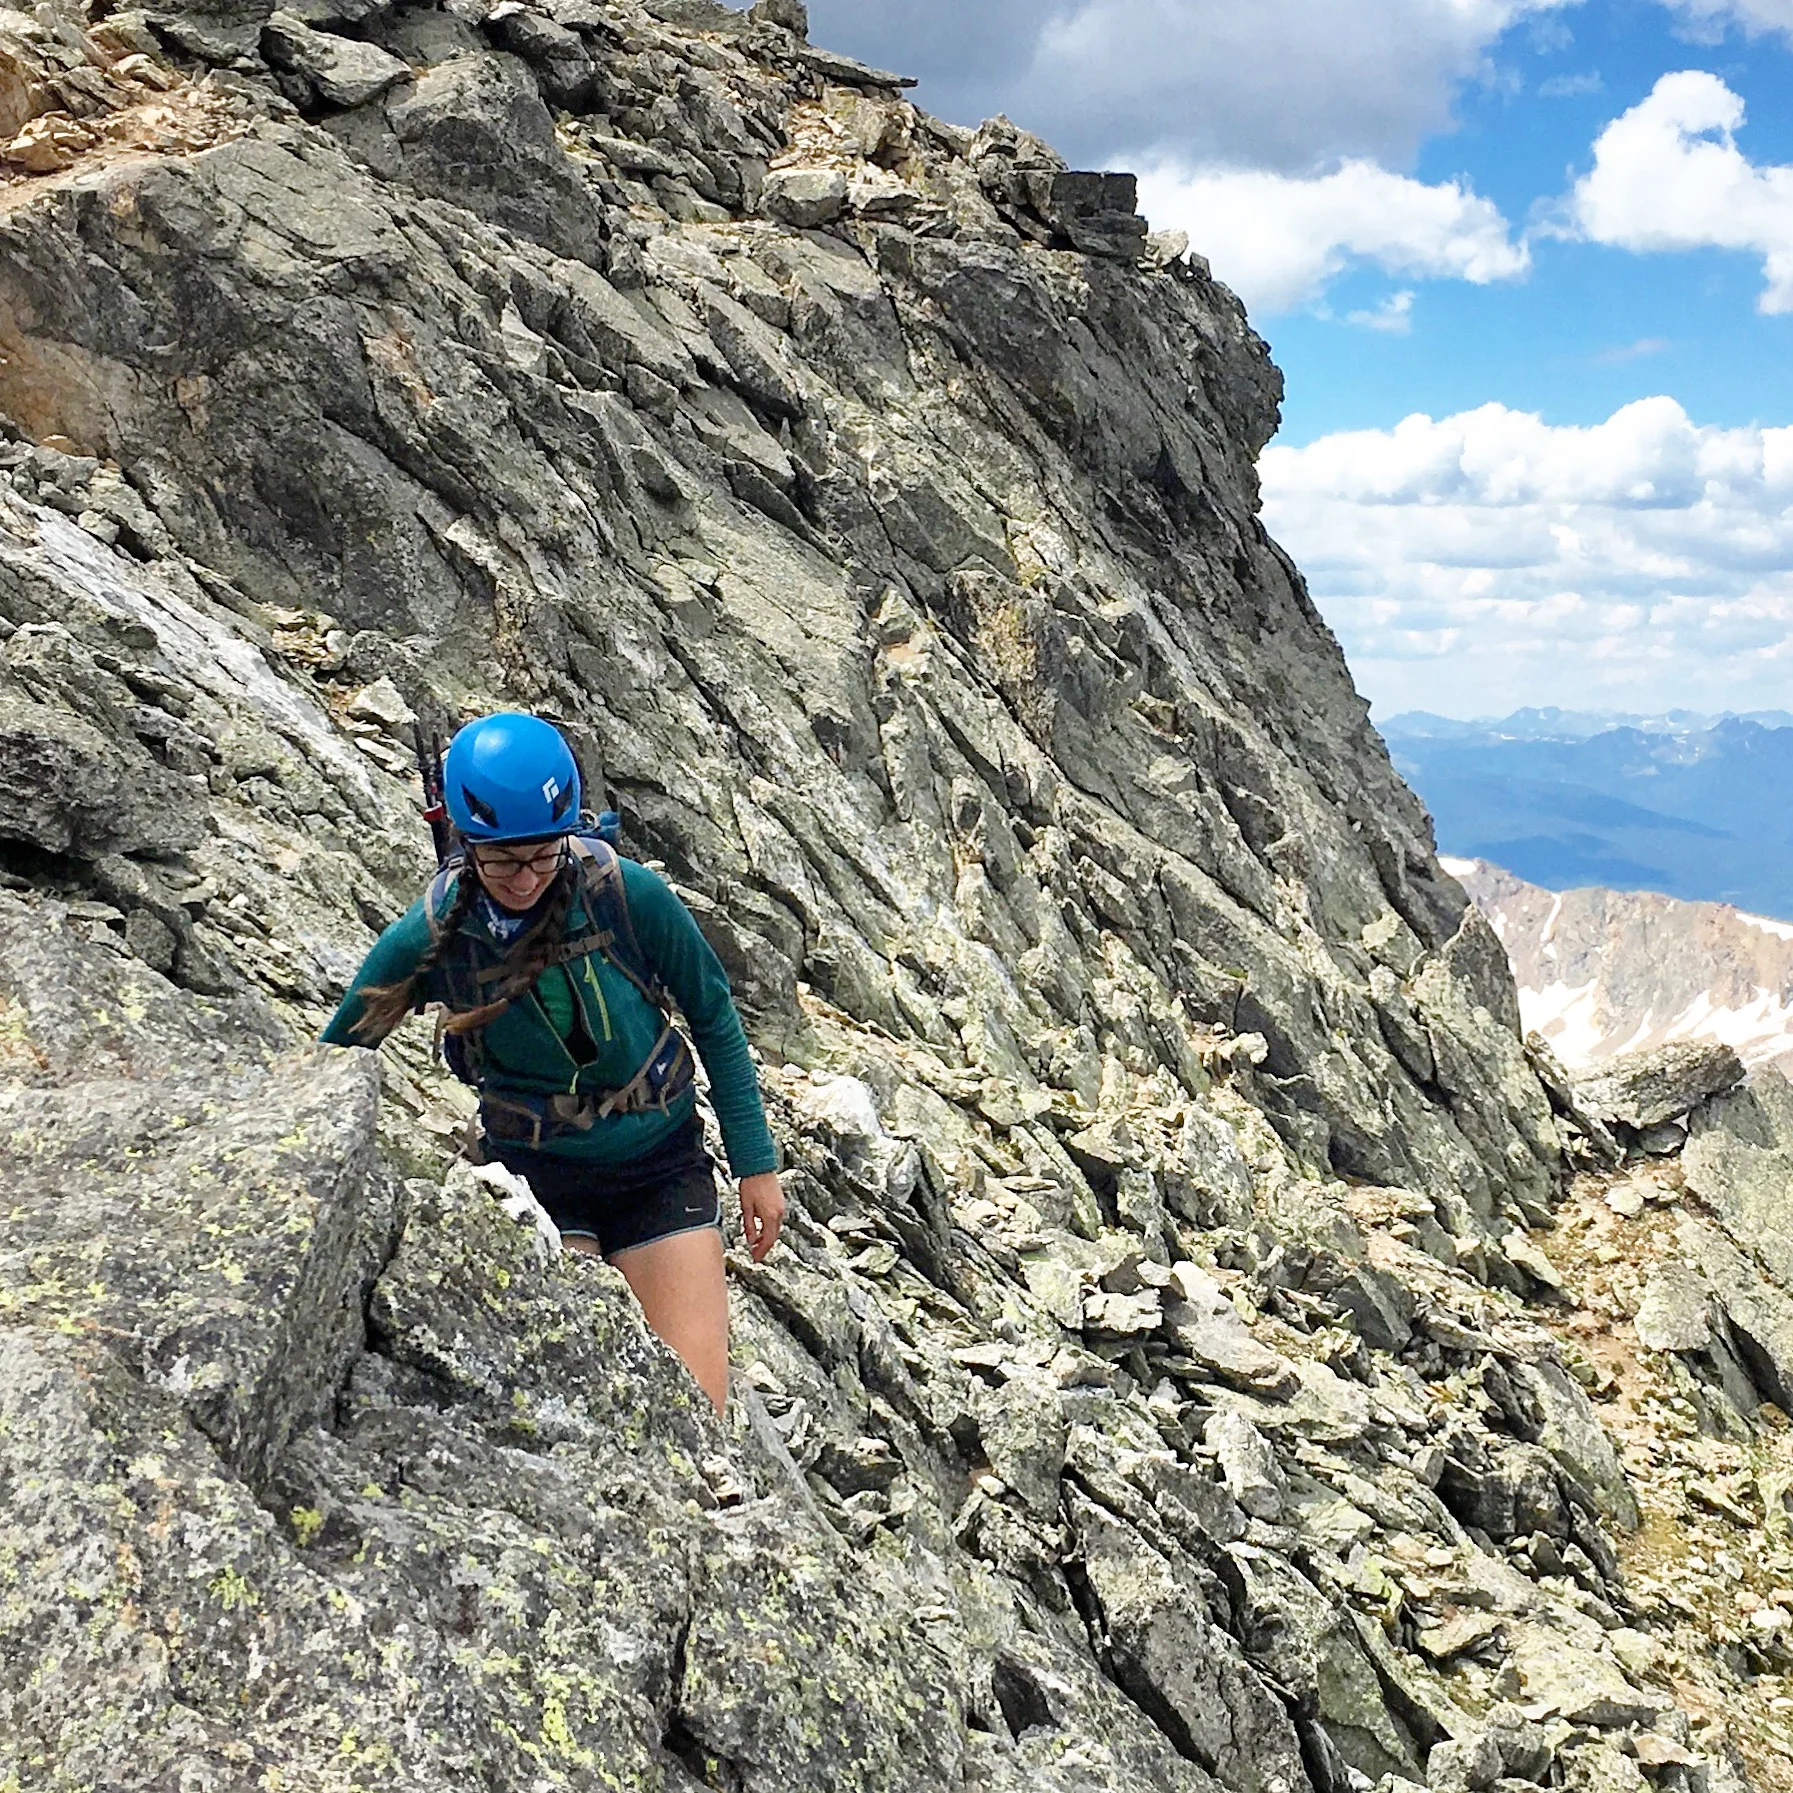
The exposure on many peaks is a mind game all of its own.
Bonus Step: Eat (and Drink) Like a Winner
Look, I’m not here to tell you how to eat, because honestly, I have friends who have kicked my butt up 14ers by subsisting on a diet of powdered donuts and gas station coffee. By some, it can be done, but for the rest of us, we need better gas in the tank. Take it or leave it, but the following is my personal strategy for staying fueled before, during, and after a big day in the mountains.
First and foremost, make sure you are HYDRATED in the days leading up to your hike. Drink plenty of water, eat water-rich foods (think fruits and veggies), and don’t drink alcohol the day before your big hike (yes, even one strong beer at altitude can make a big difference). Make sure you pack plenty of water for the big day!
While on the trail, high-calorie, real foods will be lightweight but will sustain you. Think nuts (roasted and salted is a great choice!), dried fruit, jerky, PB&Js, and clean energy bars (read all about my favorite bars here). Make sure you have a balance of complex carbs (you actually burn more carbs at altitude, so don’t shy away from them on this day), healthy fats (this is what keeps your long-lasting energy burning so that you don’t feel like you’re constantly hitting a wall), and protein (this will help your muscles stay fresh and strong throughout the day). And, since you’ll be focusing on drinking plenty of water all day, don’t forget to eat enough salty snacks so that you maintain a healthy level of electrolytes in your system.
If you really want to take it a step further, pack a cooler full of fresh fruit, tasty sandwiches, celebratory beers, and maybe some chocolate to leave in the car for the day. That way when you return from your hike, tired and ready for a real meal, you’ll already have one waiting for you!
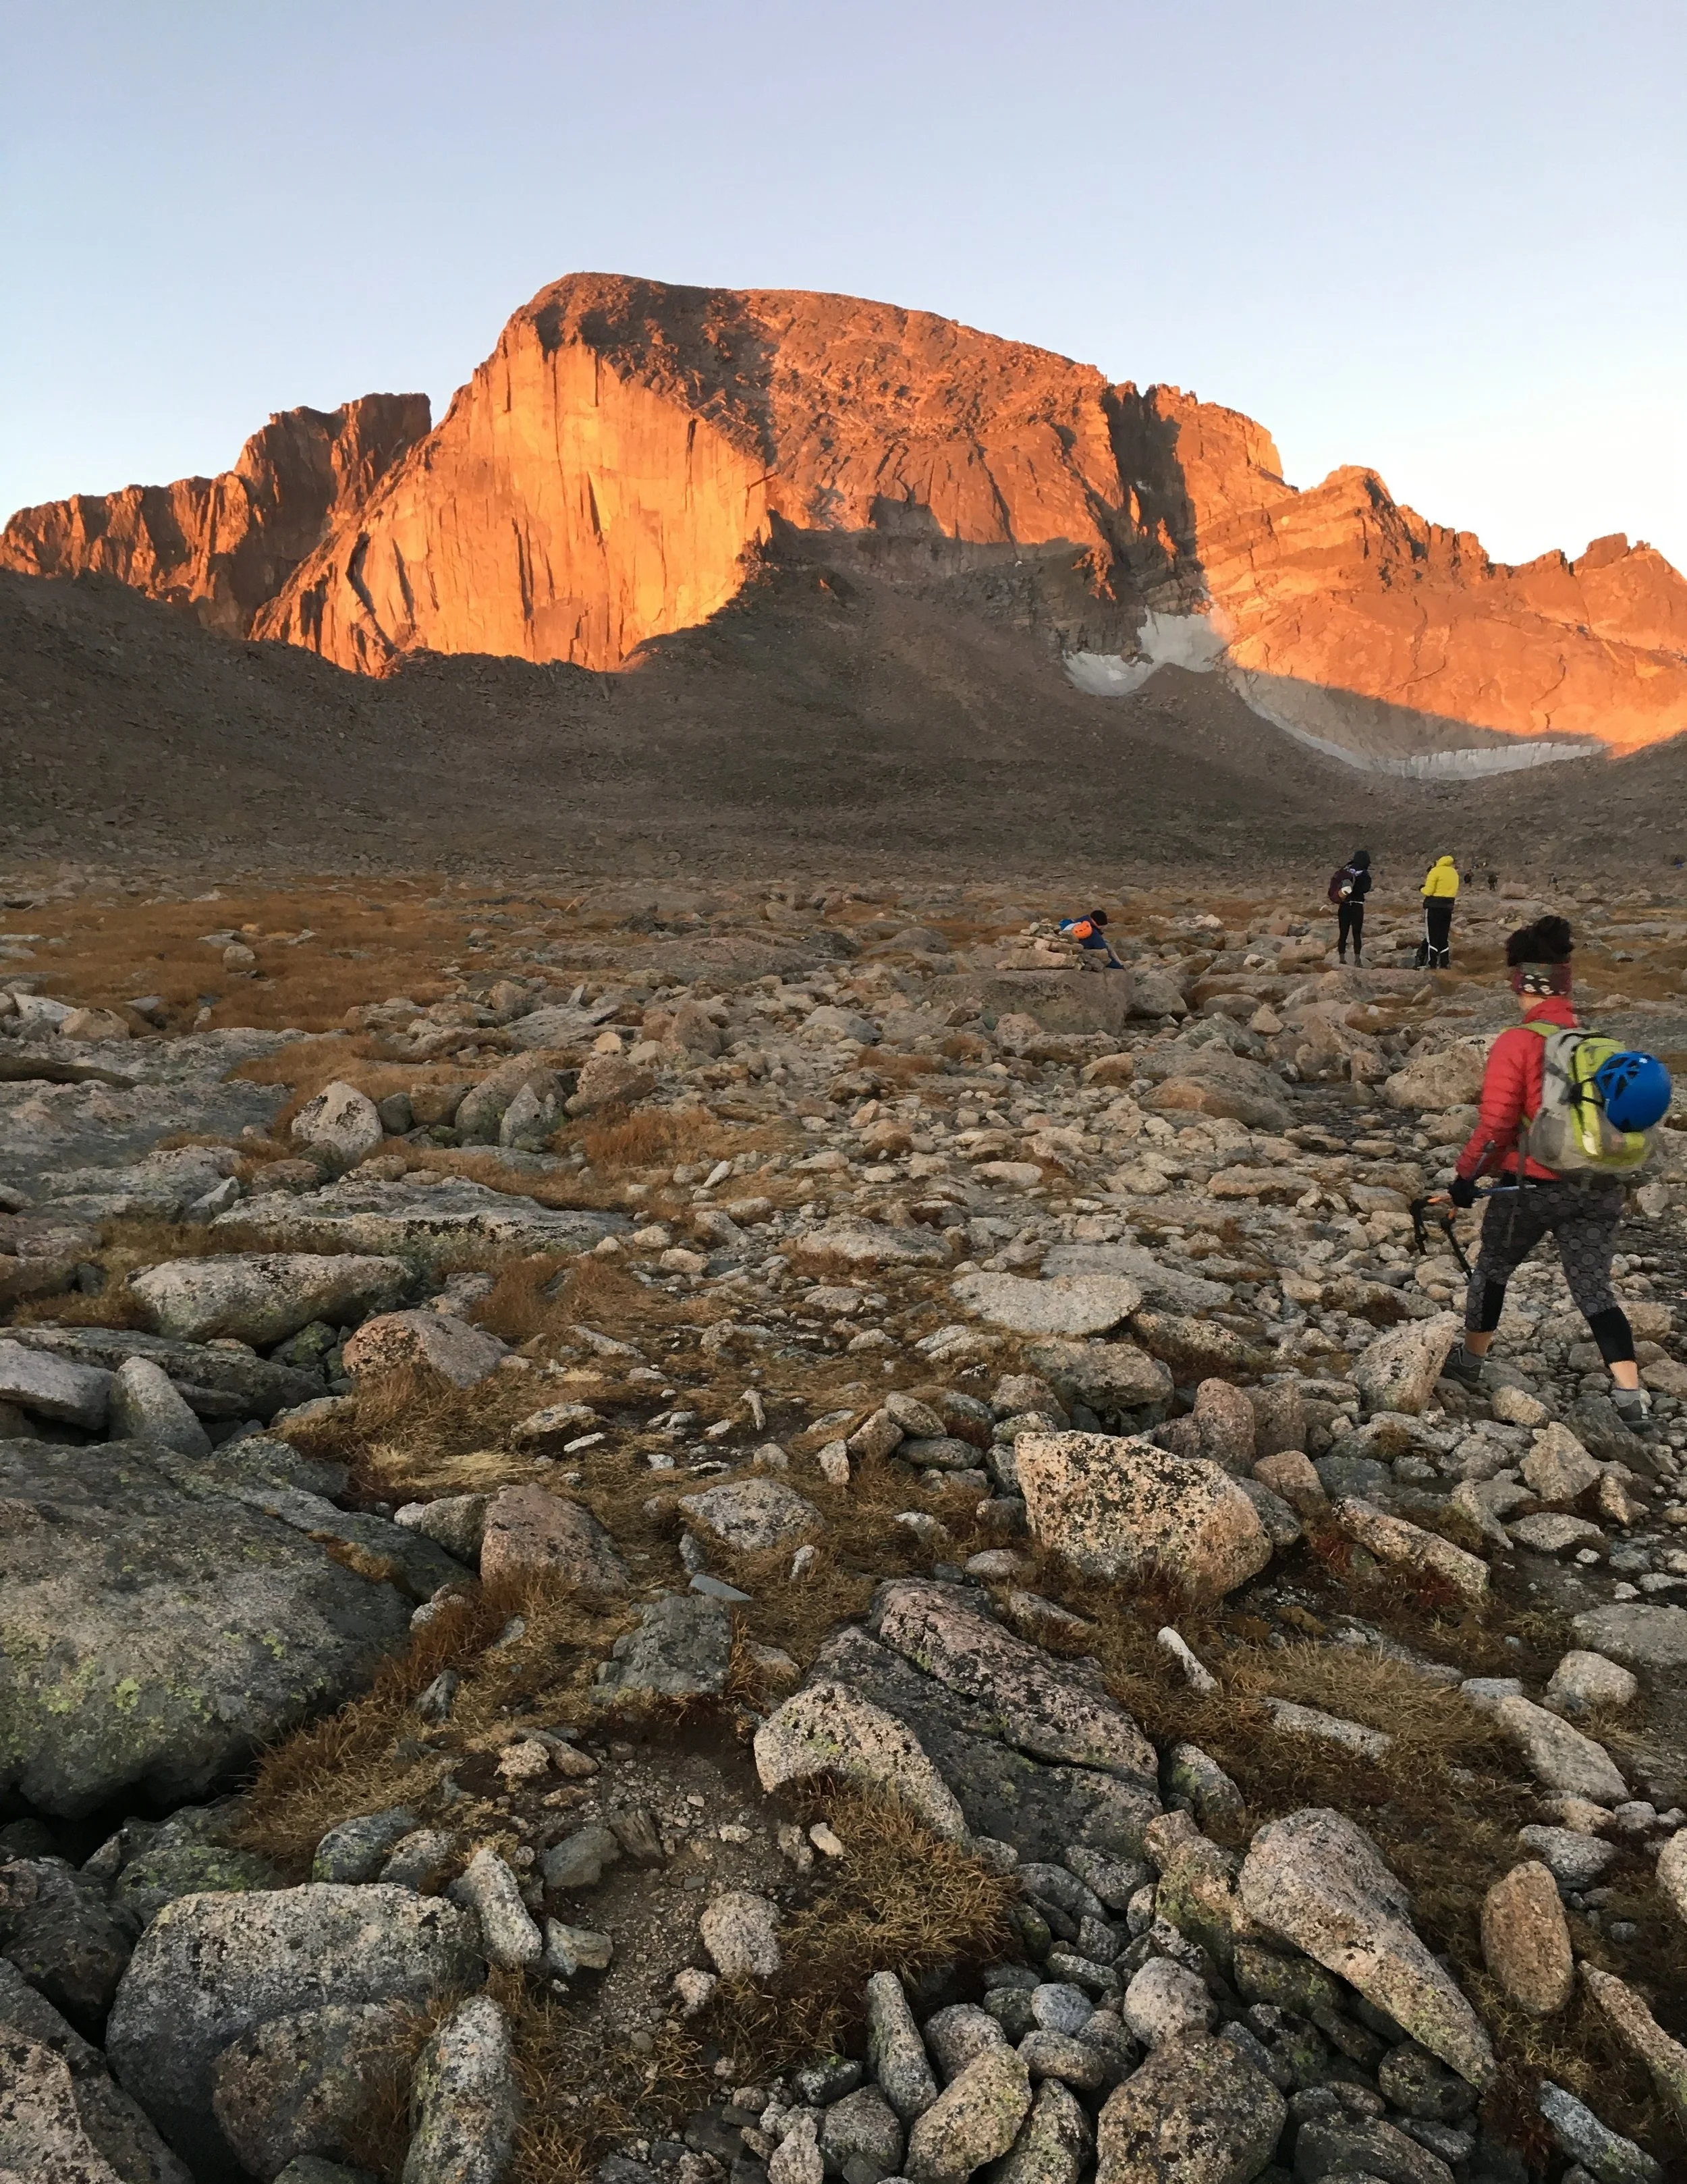
Constant snacks: the main reason why we wake up at 3 am and push our bodies up big mountains like this one.
It’s All About the Experience
Remember, no matter what kind of training you opt to do to prepare for your hike, it’s all about enjoying the process! Training for a high peak should be motivation to get outside, have fun, and get even more fit in the process - it shouldn’t be about slaving away in the gym for hours every day. If it’s not fun, then what’s the point, right?
Another important note - especially if this is your first 13er or 14er - is that you might not make it to the summit on your first try, and that’s okay! It’s far better to turn around and stay safe than to risk your life for a summit shot. Remember: the mountain will always be there.
So get out there, challenge yourself, and have fun - and don’t forget to share your photos with me after your first 13er or 14er!

Moments like this are why we keep coming back to summit high peaks.
Note: hiking any mountain has inherent risk, including serious injury or death. Please do your research and be prepared before attempting to summit any peak.
